The ‘Settings‘ section in the application settings lets you control several overall options.
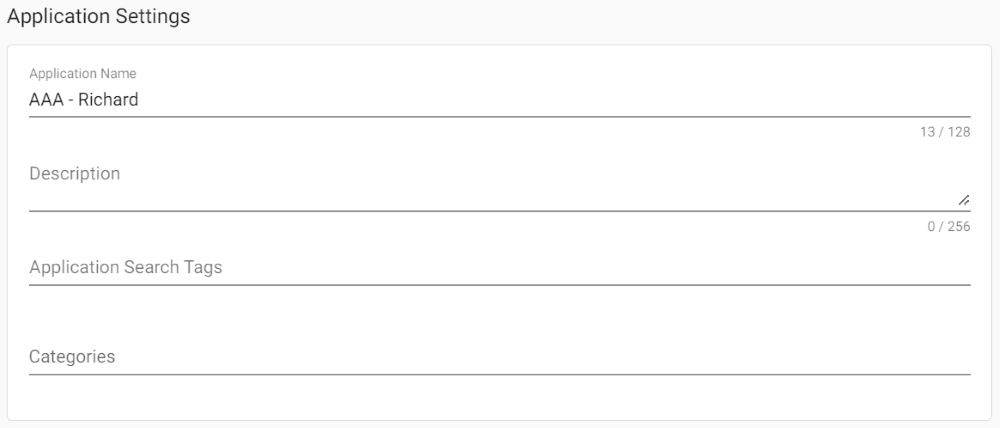
Application Settings
| Item | Description |
| Application Name | The name of the application. |
| Description | An optional longer description of the application. The description displays in smaller font underneath the name on the Apps Dashboard. |
| Application Search Tags | If your platform has a lot of applications, you could assign them search tags, such as ‘Sales’ or ‘Technical’. These tags can be searched for in the search box on the Apps Dashboard. |
| Categories | Select the appropriate categories for this application to display under in the Apps Dashboard groupings. (Categories are defined in Platform Settings. See this article for details.) |
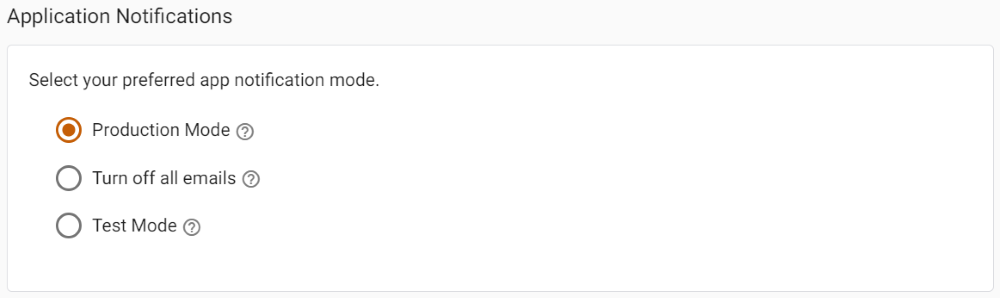
Application Notifications
Application notifications allows you to control who workflow notification emails are sent to, mostly for testing purposes before the application is moved to production.
| Item | Description |
| Production Mode | The default setting. All email notifications are sent to the recipients defined in the email template. |
| Turn off all emails | Prevents all email notifications from being sent. A useful option when you want to test the actions of workflow buttons, but are not yet ready to test the email notifications. |
| Test Mode | All email notifications are sent to the recipients defined in the field ‘Select the users who will receive notifications in Test Mode’, which appears once this option is selected. This option is an excellent way to do final testing of workflows with email notifications. |
Application Status
Application status is either ‘Published’ or ‘Not Published’. Clicking on the button at the bottom of this area will change the status. When the app is ‘Published’ the button says ‘Unpublish App’ and when the app is ‘Not Published’ it says ‘Publish App’.
If the application is ‘Published’:
- Users who are assigned any role within the application will now see the app in their list of applications on the App Dashboard.
If the application is currently ‘Not Published’:
- Only App Developers will see the app in their list of applications on the App Dashboard.
- Other users who are assigned a role within the application will be able to access and use the app, but only via a URL link. (The email a user can receive when being added to a role in the app includes a suitable link.)
- The ‘Not Published’ status is useful for developers to complete the application and test with invited users, before normal users can see the app.
Copy Application
Allows you to make a copy of the current application, with or without copies of all of the records as well. This is useful in two main situations:
- If you need a new application that will share some of the same features as this current application. You can then delete the unwanted application features and modify the rest, so saving development time. (Typically you would not also copy the records in this case.)
- If you wanted to try some updates or improvements to the current application, making a copy and testing the updates on that first is the safest approach. (Typically you would want to also copy the records in this case.)
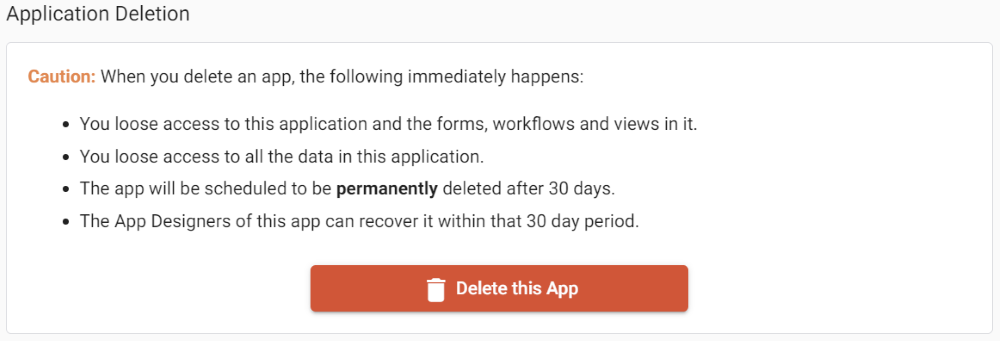
Delete Application
Allows you to delete the current application. After clicking on the ‘Delete this App’ button, a confirmation dialog appears that repeats the warnings about what happens when you delete an application, and requires you to type the applications full name in before you can actually delete it. Deleting an application means:
- You loose access to this application and the forms, workflows and views in it.
- You loose access to all the data in this application.
- The app will be scheduled to be permanently deleted after 30 days.
- The App Designers of this app can recover it within that 30 day period.
 | Once you are done editing your platform appearance, make sure you Save by clicking the floppy disk icon in the top right corner of the page before leaving this section. |