Roles are a bit like groups, and are a key part of how you control who can do what in an application. Abilities like creating a new record, seeing and clicking a workflow action or seeing a view, are all controlled by roles. You add people into a role, and then tell GW Apps which role can see or do each specific ability. (For more details about roles and how to use them, see the following article.)
Normally, you create a role within an application and manage its member in the app. Shared Roles are defined at the platform level and can then be used in any application, making it easier to manage application access. Any change in a shared role’s membership immediately updates the access in all applications that use it.

When you first open the ‘Shared Roles‘ section, you will see a role called ‘All Domain Users‘. GW Apps creates this role automatically, and it includes all users with access to the platform (updated automatically). It’s not possible to delete this shared role, or manage it’s members.
Creating a Shared Role
To create a new role, click on the ‘+ New Shared Role‘ button on the menu bar.
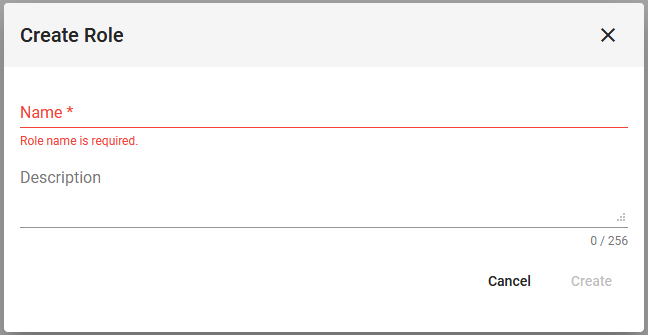
Enter the role a name and an optional description , and click on ‘Create‘ in the bottom right corner of the window. The Shared Role is created, but is empty until you add users (see directions below).
Managing Shared Roles
To manage a Shared Role, select it in the list and the right-side role properties panel will appear. This is where you can add users to the role, view the list of applications currently using the role, and view basic information about the role.
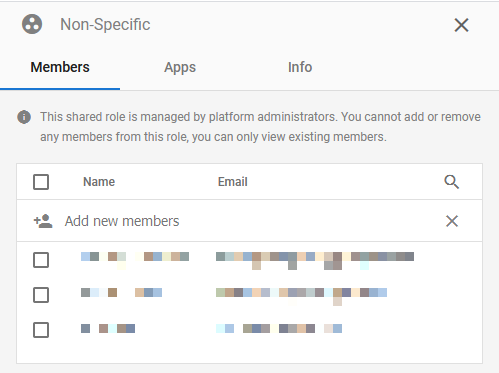
The Members tab is where you manage the role’s users.
- To add users to the role, begin typing the name or email address of a valid user in the ‘Add new members‘ field. A drop-down list will show the users that match what has been typed so far: Select the required name once you see it in the drop-down list.
- To remove users from the role, select the checkbox next to their name(s) and click the trashcan icon (which replaces the magnifying glass icon at the top right).
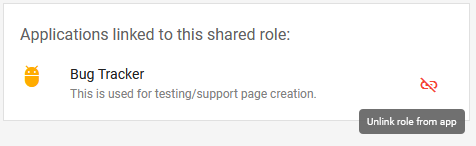
In the Apps tab, you may unlink the role from apps currently using it by clicking the unlink icon next to the app.
As an alternative to opening the right-side panel, you can access some options by hovering your mouse cursor over the role, which will display three icons on the far right:
| Item | Description |
| Opens a pop-up dialog where you can edit the name and description of the role. | |
| Opens the right-side role properties panel and the Members tab, so that you can add/remove users from the role. | |
| Deletes the role. You will not be able to delete a Shared Role if it has applications linked to it. You must first unlink all applications from the Shared Role. |
Importing Shared Roles
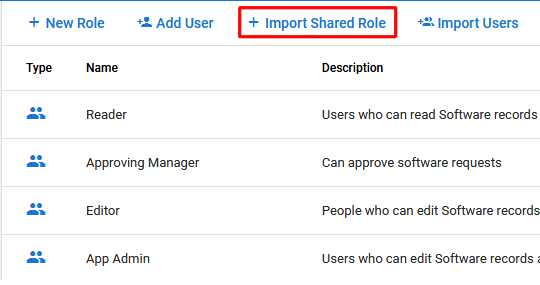
Once you’ve created a Shared Role, you can add the role to an application. Simply open the application in edit mode, navigate to ‘Roles & Users‘ on the left-side navigator, click on ‘+ Import Shared Role‘, and select the desired shared role from the displayed list.