The Security Settings section of the Platform Settings holds access and security related settings: This is where you manage and customize your Company Login Page, Login Details / Permissions, App Sharing Security, and API Access.
Company Login Page
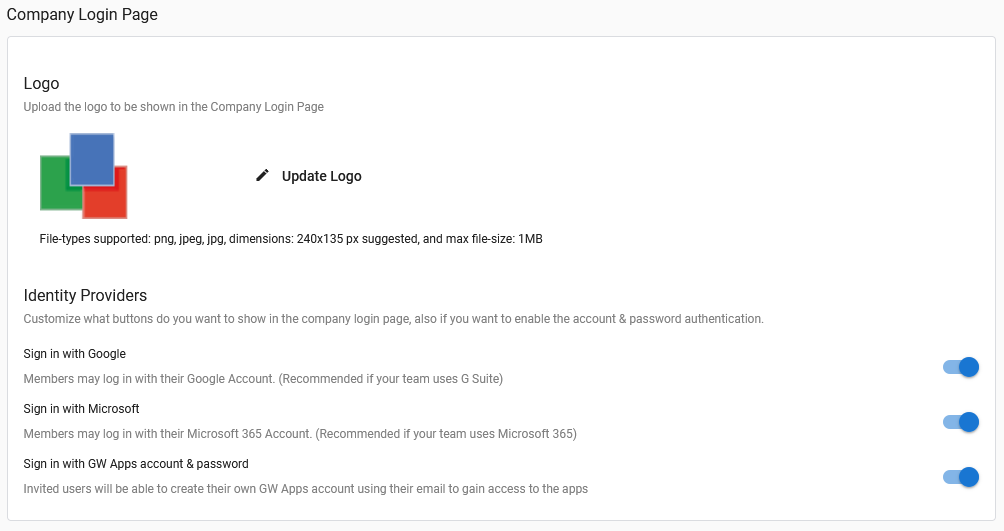
The Logo here is the logo that will show on your platform login page. (File-types supported: png, jpeg, jpg, dimensions: 240×135 px suggested, and max file-size: 1MB.) Other platform logos, such as the logo displayed in the top left corner of the platform, and the logo displayed on your browser tabs, can be changed in the Appearance section.
Identity Providers lets you choose which sign in options you want to allow on your company login page. The options are:
- Sign in with Google – Enables single-sign-on via Google G Suite. If users have already logged in to their G Suite account, they will not be prompted to login when accessing GW Apps.
- Sign in with Microsoft – Enables single-sign-on via Microsoft 365. If users have already logged in to their Microsoft 365 account, they will not be prompted to login when accessing GW Apps.
- Sign in with GW Apps account & password – Invited users will be able to create their own GW Apps account using their email address and a GW Apps specific password. They will then be able to access GW Apps using this username and password pair.
Same Domain Login

Enabling this feature allows anyone with an email address that matches any of your company’s Whitelisted Domains to login to GW Apps. Logging in this way automatically adds the user to the Users list. For example, when john.smith@example.com (who is not already a User) logs in, GW Apps automatically adds him to the Users list (Platform Admin). This removes the need for Super Admins to manually add users to GW Apps. Disabling this feature grants Super Admins more control over who can login to GW Apps.
App Sharing Security

This feature determines who App Designers can share applications with (add users to roles within their apps). There are three options under Sharing Policy:
| Item | Description |
| Only Whitelisted domains | Only users within domains listed as one of your Whitelisted Domains. may have an application shared with them (i.e., be added to a role within the application). This will allow apps to be shared with users not yet added to your platform, as long as they are in a whitelisted domain. |
| Any domain | Will allow any users, no matter their email domain. tp have an application shared with them (i.e., be added to a role within the application). This will allow apps to be shared with users not yet added to your platform. |
| Restricted | Only users who have already been added to the platform, are listed in Users in Platform Settings, can have an application shared with them (i.e., be added to a role within the application). |
Anonymous Access

Enabling this feature here gives App Designers the option to enable this feature in their applications and make specific forms accessible by anyone with a link. If applications are using the anonymous access feature and this platform level setting is disabled, then all of those applications will loose their anonymous access capabilities, until it is enabled again.
Disable API Access

Enabling this setting will disable all API access to GW Apps for your domains, including all existing API Keys previously generated.
| Before leaving the Security Settings section, make sure you save any changes you have made by clicking the floppy disk icon in the top right corner of the page. |