Workflow action buttons are the way a reviewer can tell an app what they would like to do to the record they are reviewing.
Note: This page is about the original workflow user interface (UI), now found on the ‘Workflow Old’ tab. The new workflow UI is available on the ‘Workflow New’ tab. The available features are similar, but a few of the latest minor features are only available via the new workflow UI.

Action Buttons Overview
Generally, action buttons are used to move the record along in the workflow. For example, at the Manager Review stage there might be ‘Approve’, ‘Reject’ and ‘Return to Submitter’ action buttons, and hitting ‘Approve’ might move the record to the VP Review stage.
Workflow action buttons are associated with a specific workflow stage. You must define your Workflow Stage before you can add any workflow action buttons to it. For details on creating and managing Workflow Stages, please see the following article > Workflow: 1 – Stages
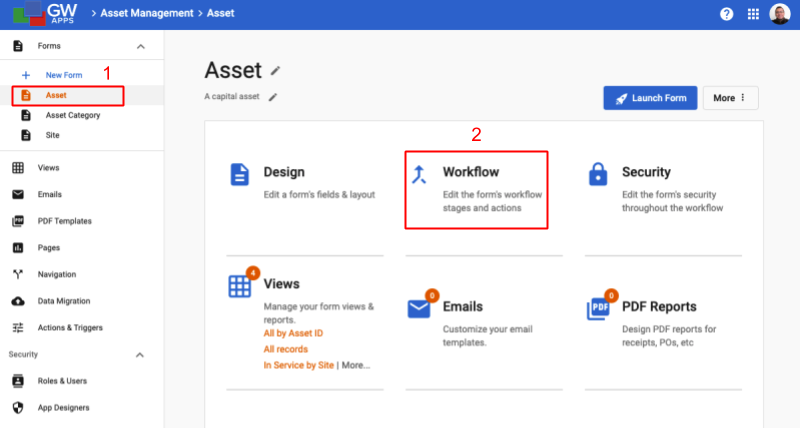
Workflow action buttons are created and managed from the Workflow tab on the forms design. To access the workflow action buttons of a form: Edit App > Builder > Forms (1) > Click Edit on the desired form’s tile (2) > Click on the Workflow tab.
| Edit App > Click on the desired form’s tile (1) > Click on the Workflow option (2) |
 |
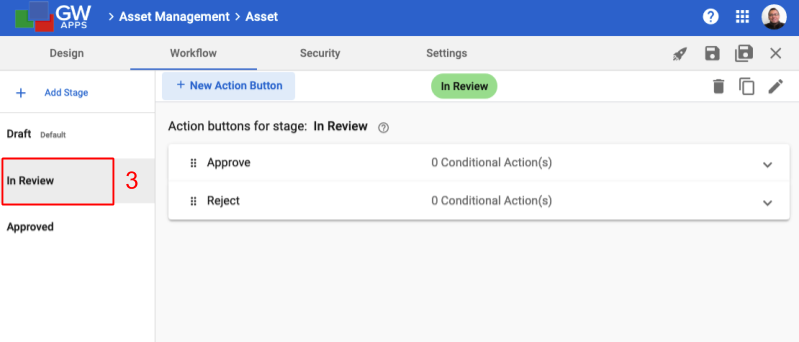
| Click on the desired workflow stage (3) |
 |
Creating New Workflow Action Buttons
A workflow stage can have as many action buttons as required. Typical actions might be things like: Approve, Reject or Request Finance Review.
To create an action button, select the desired stage from the list on the left side of the screen (4), and then click on: ![]()
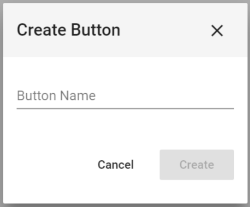
| Create Button Dialog |
 |
| Item | Description |
| Button Name | Enter the name of the new action button. |
| Click to close the dialog and cancel the action button creation. | |
| Click to close the dialog, create the new action button and be taken back to the Workflow tab. |
Configuring Action Buttons (Basics)
There are a lot of possible configuration options for workflow action buttons. To help get the essential options covered more simply, we have split the documentation for workflow action buttons into two articles. This ‘Basics’ article, and the subsequent ‘Advanced’ article (Workflow: 3 – Action Buttons (Advanced)). We will cover the most commonly used action button features here, and the more advanced ones in the second article.
You will now see your new action button on the right side of the screen. To configure the button to take the desired action(s), click on it to show the drop-down configuration menu.
| Defining Button Actions |
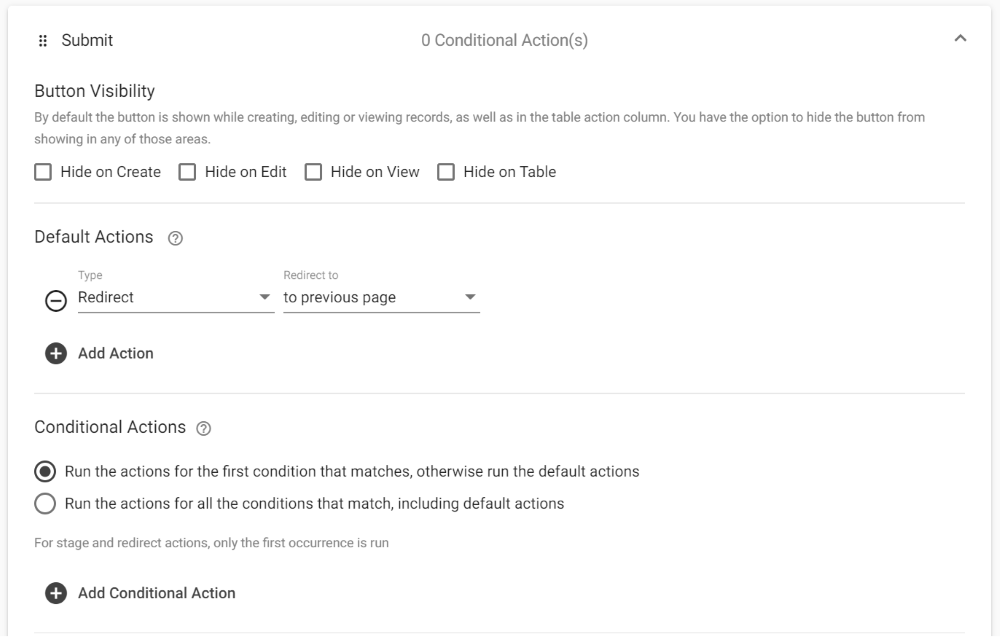 |
There are two types of actions: Default Actions and Conditional Actions.
Default Actions
These actions will run when the action button is clicked, unless there is a conditional action that matches the current situation, in which case that action will run. There can be multiple default actions, such as moving the record to the next workflow stage and sending a notification email.
Conditional Actions
These actions have a logical test associated with them, such as “Department field contains Sales” or “Total Value field is greater than 10,000”. If this test is true, the the associated conditional action(s) will run instead of the default action. There can be multiple conditional actions, and each can have more than one condition that must be meet.
Action Options
There are 10 types of actions, but we will cover the main 4 now:
| Action Type | Description |
| Change Stage | Move the record to a new workflow stage and set the workflow status accordingly, e.g. Draft to Manager’s Approval or VP Approval to Rejected.
Note: You can only change status to one other value, so there is no purpose for having multiple Change Stage actions. Therefore, once Change Stage has been selected, it will no longer appear in the Type selector for that set of actions. |
| Send Email | Allows you to select or create an email template so that an email message is sent to interested parties when the workflow action button is pressed. |
| Redirect | Allows you to select what should be seen by the user after the action button is pressed, e.g. go back to the prior view or open a specific form. |
| Assign User to Role | Allows you to set the value of a dynamic role, e.g. setting the Approving Manager role to have the value of the Manager field on the current record. Dynamic roles allow you to assign named people to have a role specifically for this record, so Approving Manager could have a different name value for different records. (Traditional managed roles always have the same value for any record, as they are defined at the application design level.) |
Change Stage Settings
| Item | Description |
| Next Stage | If you select ‘Change Stage’ as the type you will see the ‘Next Stage’ field. Select the desired stage records should move to when this button is clicked. |
Send Email Settings
| Item | Description |
| Select Email Template | If you select ‘Send Email’ as the type you will see the ‘Select Email Template’ button. Details for working with email templates to create customized notification messages are shown here: Email Templates. |
Redirect Settings
| Item | Description |
| Redirect To | Select between the following options:
|
| Options | Select the desired Form, Page or View name from the supplied list. |
Assign User to Role Settings
| Item | Description |
| Create Role | |
| Select Existing | |
| Dynamic Roles | Select the name of a dynamic role to assign a value to from the list of dynamic roles in the application. |
| Fields | Select the name of the field to get the value from. Only Directory Lookup fields display in the list. If the list is blank, then you do not have a Directory Lookup field on this form yet, so go back to the design tab and add one before completing the workflow action setup. |
Action Buttons Demonstration Video
The following video outlines creating stages and workflow action buttons:
Next Steps
| Below are links to articles that cover the other main areas of creating a workflow: |
| Workflow Stages |
| Workflow Security |
| Email Templates |
| Below are the links to the episodes of Building an Expense Reports App tutorial series that include descriptions of setting up a workflow: |
| Part 5 – Expense Reports App – Workflow |
| Part 6 – Expense Reports App – Security |