Email Template Overview
Email templates are used to create automated workflow notifications. If you want to send an email as part of a workflow, for example to the approver(s) or to the record’s originator to let them know of a workflow update, you will need to create an Email Template to define the email that will be sent. To access the Email Templates Dashboard:
| Edit App > Emails |
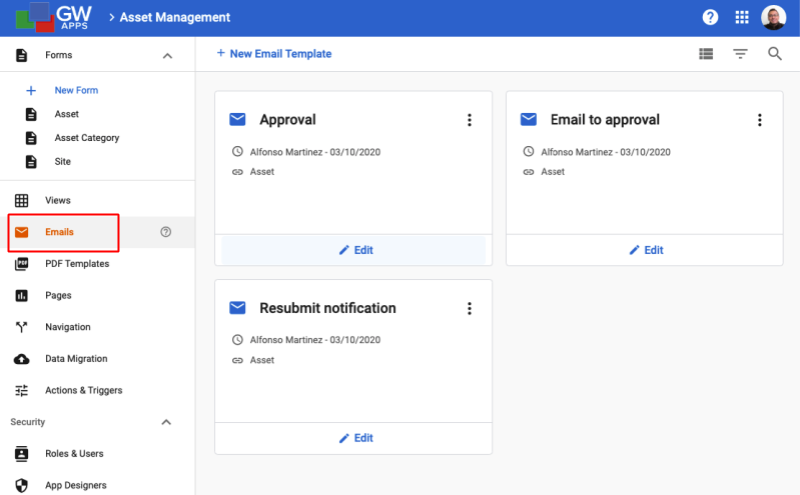 |
Email Templates Dashboard
The email templates dashboard shows all available email templates for the current application, displayed as tiles or a list. An App Designer can create and update them from here. Double clicking on a template’s tile/list row will open it in the Email Template Editor.
| Email Templates Dashboard |
 |
Each email template tile/list row also has the following options, accessible directly on the tile/list row, or from the 3-dot menu icon on the right side:
| Item | Description |
| Edit – Opens the email template in the Email Template Editor. (You can also just double-click on the tile/list row.) | |
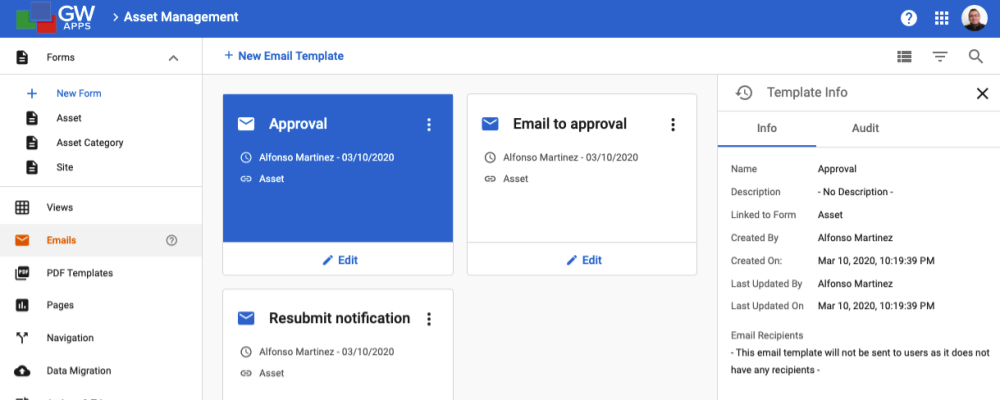
| Info | Info Panel – Displays the right side information panel, with summary information and an edit history for the currently selected email template. |
| Duplicate | Duplicate – Copies the selected email template. A dialog asks for a new name and then opens the duplicated email template in the Email Template Editor. |
| Delete – Deletes the selected email template from the application. | |
Creating a new Email Template
To create a new email template, click on the + New Email Template button at the top of the dashboard. You will then be presented with the New Email Template dialog:
| New Email Template Dialog – Initial Look |
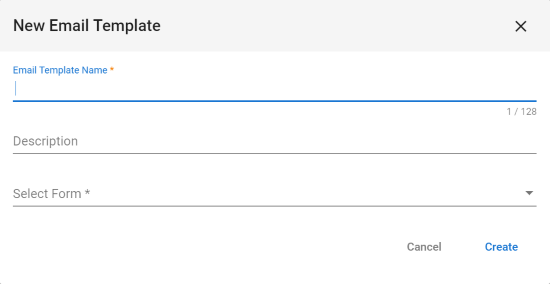 |
| New Email Template Dialog – After Form Selection |
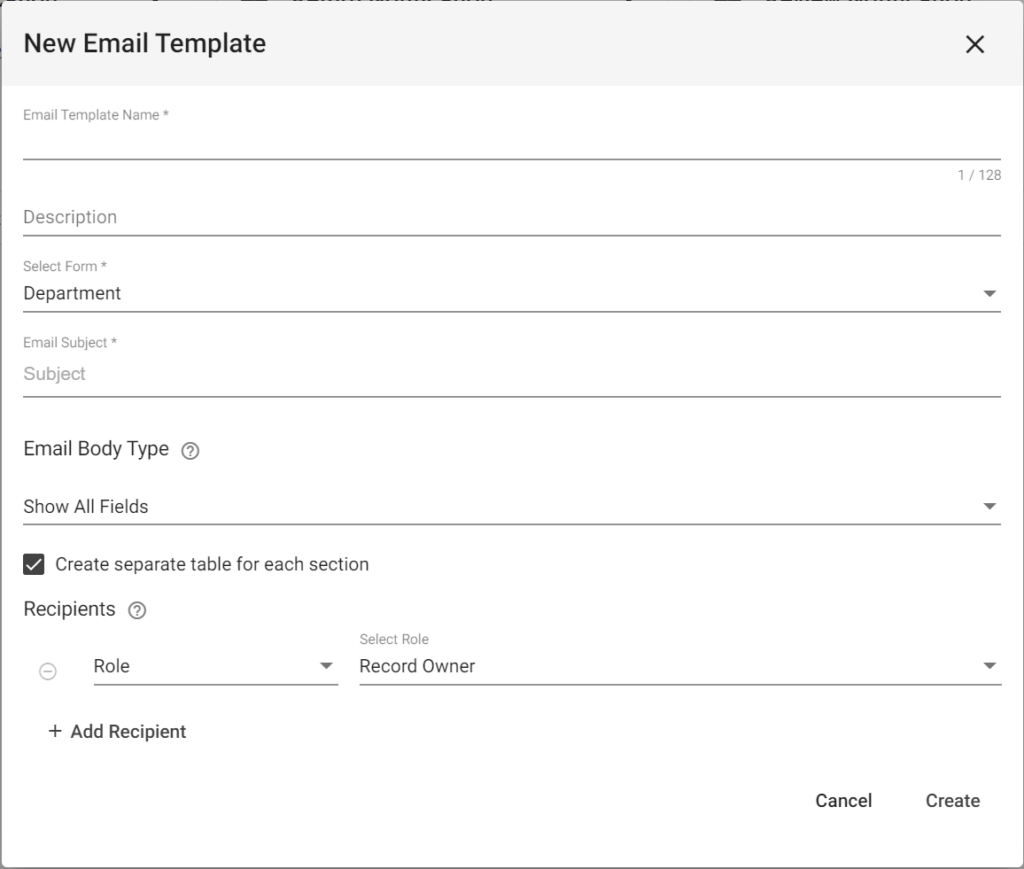 |
| Item | Description |
| Email Template Name | Enter the name of the new email template. |
| Description | If desired, enter a description for the email template to help clarify its purpose. |
| Select Form | Select the form whose workflow this email will be part of. This is required so that the email editor can lookup the fields from the form to potentially include in the Subject and Body of the email. |
| Email Subject | Type in the subject of the email. (The subject, and all aspects of the email except the associated form, can be further edited once the Email Template Editor opens after you click the Create button on this dialog. In the editor, you can also add field values to the subject.) |
| Email Body Type |
Choose between these options:
|
| Recipients | Select recipients that will go into the ‘To’ list for the email template. CC and BCC recipients can be added once the Email Template Editor opens. (Details of the options for assigning Recipients can be found in the article on the Email Template Editor. You can leave the default setting of the ‘Record Owner’ role being the only recipient in this dialog box, and update the recipients once the Email Template Editor opens.) |
| Click to close the dialog and cancel the new email template creation. | |
| Click to close the dialog, create the new email template, and be taken to the Email Template Editor with the new email template loaded. |
Next Steps
| Below are links to articles that cover the other main areas of creating a workflow: |
| Email Template Editor |
| Workflow Stages |
| Workflow Action Buttons |
| Workflow Security |
| Below are the links to the episodes of Building an Expense Reports App tutorial series that include descriptions of setting up a workflow: |
| Part 5 – Expense Reports App – Workflow |
| Part 6 – Expense Reports App – Security |