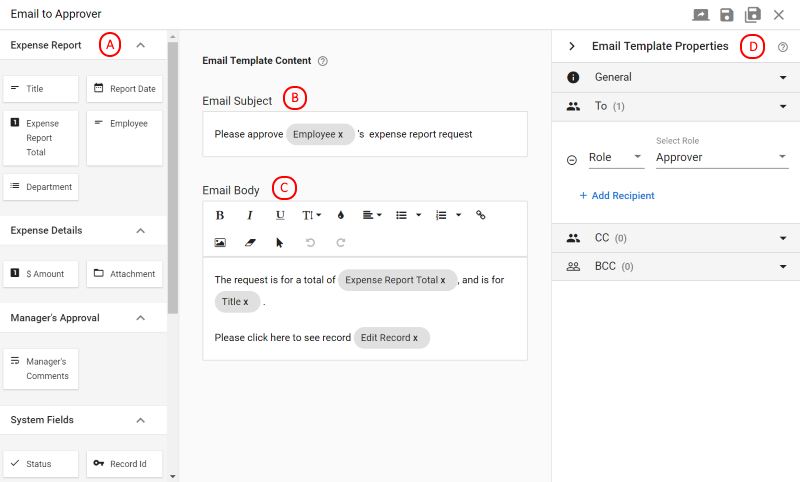
The Email Template Editor allows you to create the Subject and Body text for your email, and specify the recipients and other email options.
| Email Template Editor |
 |
| Editor Area | Description |
| Available Fields Palette (A) | A list of the available form fields and links that can become part of the email message. To add a field or link to the email, drag-and-drop it from the left into either the Subject or Body editing sections. (It will drop exactly where the mouse arrow pointer is pointing when you let go of the mouse key.) |
| Email Subject (B) | Type any subject text you would like, along with fields from the palette on the left. (We don’t recommend you include links, or more than two or three field values, in the email subject.) |
| Email Body (C) | The body can also include text, along with fields and links from the palette on the left. Unlike the Subject, the Body can also include formatting such as bullet-point lists, font effects like bold, italic and colors, tables to help create a neat layout, and images and custom URL links. |
| Email Template Properties (D) | Define the recipients of the email, along with some general settings. (See more details in the next section.) |
Managing Email Template Recipients
| Managing Recipients |
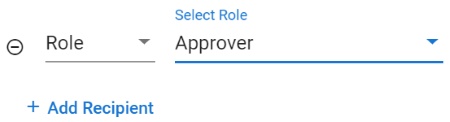 |
You select recipients for To, CC and BCC in the exact same way, as outlined below.
| Icon | Description |
| Click to remove the associated recipient. | |
| Click to add another recipient. |
Recipients can be defined in three different ways:
| Recipient Type | Description |
| Role | Select the desired role from the provided list. |
| User | Start entering the desired user’s email address in the provided field, and then select their full email address from the list that appears. (You must select the email value from the list for it to be saved. Also, you can only email to users who are listed in the master list of GW Apps users using the ‘Users’ option. See the Platform Administration article User Management: Users, for details.) |
| Field | Select the desired field from the provided list. Only User, Multiple Users and Email field types from the current form will be listed. (If you do not see any options in the drop-down list, it is because you do not have any User, Multiple Users or Email fields on the current form. Email type fields can contain any validly formatted email address, while User and Multiple Users fields can only contain users who are listed in the master list of GW Apps users.) |
These can be used in any combination, e.g. To could include two roles, and CC has one role, three users and a field.
Email Template Properties – General
| General Settings |
 |
| Item | Description |
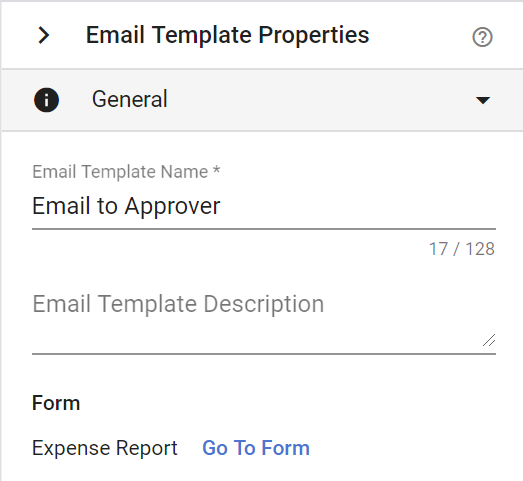
| Email Template Name | The name of this email template. (The template name does not show to email recipients, it is only seen by App Designers.) |
| Email Template Description | [Optional] A longer description if the template name is not sufficient to fully identify the use of this template. (The template description does not show to email recipients, it is only seen by App Designers.) |
| Form | [Read Only] Displays the name of the form associated with this email template. The Go To Form link will open the form in the Form Editor. |
Email Template Properties – Sender
| Sender Settings |
 |
| Item | Description |
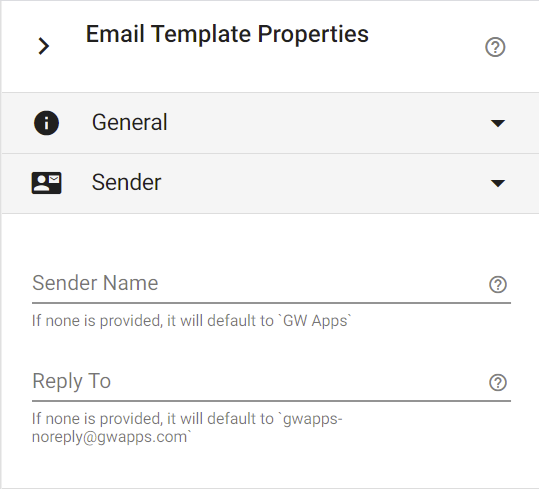
| Sender Name | [Optional] The name that will appear as the sender of the email. (Emails will appear to be sent by ‘GW Apps’ if no Sender Name is supplied.) |
| Reply To | [Optional] The email address used if a recipient replies to the email they received. (If no Reply To email address is supplied, replies will be sent to ‘gwapps-noreply@gwapps.com’ which is a dead-end.) |
Email Template Properties – Buttons
| Buttons Settings |
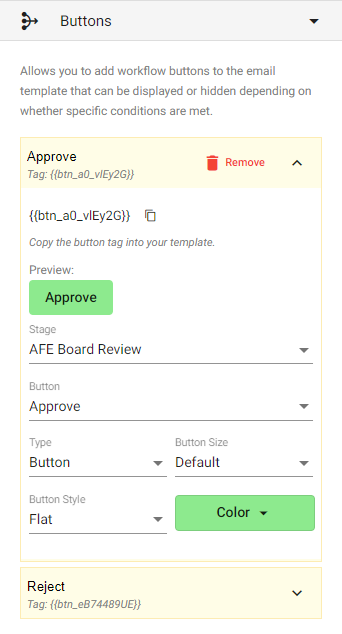 |
Buttons enables email recipients to take action on records directly from the body of the email.
| Item | Description |
| Tag | Copy and paste the generated “Tag” into the body of the email where you want the button to appear. |
| Preview | A visual preview of how the button will appear in the email. |
| Stage | The Stage where the desired action button is found. |
| Button | The desired button from the selected Stage. |
| Type | Type determines how the “Button” will appear in the email. There are two options: “Button” and “Link”. The former will display as a button, the latter will display as a hyperlink. |
Note: The button will only display when the record is still at the stage associated with the action. For example, if you select Stage “Draft,” and the email is sent when the record is in the “Approved” stage, the button will be hidden.
Once the email is sent, the record that it is associated with it might be moved to another workflow stage. In this situation the action button in the email will not become hidden, as it can’t see the record to know it has changed workflow stage. However, even though the button is visible it will not actually function, as GW Apps will verify the requested action and identify it as not being valid in the workflow stage the record is currently in, and not run the action. The button will then simply open the record, but not change it in any way.
Email Template Properties – Attachments
| Sender Settings |
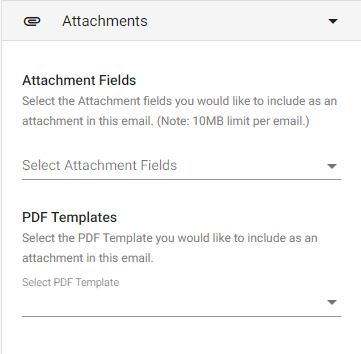 |
| Item | Description |
| Select Attachment Fields | Select one or more Attachment fields on the associated form. Uploaded files from the Attachment field(s) will be automatically attached to the email template, provided the total file size doesn’t exceed 10MB. (This is an email provider limitation. While Google allows 25MB, other providers have a 10MB limit.) If a file size is greater than 10MB, the system will ignore the file. If there are multiple files, the system will only attach up to 10MB, and the rest of the files will be ignored. |
| Select PDF Template | Select the name of a PDF template. When an email is generated then a PDF will be created using that template and the current record and it will be attached to the email. (Only PDF templates associated with the same form as the current email template will be shown in the list. If none exist as message saying such will be displayed.) |
Next Steps
| Below are links to articles that cover the other main areas of creating a workflow: |
| Workflow Stages |
| Workflow Action Buttons |
| Workflow Security |
| Below are the links to the episodes of Building an Expense Reports App tutorial series that include descriptions of setting up a workflow: |
| Part 5 – Expense Reports App – Workflow |
| Part 6 – Expense Reports App – Security |